What to expect during an architectural photography shoot
You’ve spent months – likely years – navigating the complexities of design, permitting, and construction. The space is finally complete. Now comes the final chapter: documenting that work to communicate your design intent and brand to the world.
When you hire a professional architectural photographer, the process is significantly more involved than a simple “point and shoot” operation. It is a collaborative, technical, and often intensive production. Here is a look at my process and what you can expect when we partner on a shoot.
The Time Commitment: Following the sun
The most common misconception about architectural photography is the time required. Because we are documenting the relationship between a structure and the natural light, it is almost always a sunrise-to-sunset commitment.
For exterior photography, we are at the mercy of the sun’s orientation. A facade that looks spectacular at 7am might be flat and uninspired by noon. We schedule our day around these precise windows of light. For interior photography, we work more fluidly but still target specific times when natural light best illuminates the textures, colors, and spatial volume of a room (though photographic lights can help). If you want a comprehensive photo shoot that captures every angle in its best light, expect a full day on site.
The Initial Walk-Through and Prep
When I arrive, the camera doesn’t come out immediately. We begin with a site walk-through, especially if we haven’t done a scout visit to the site previously. Ideally, I do this with the architect or designer to discuss the design intent. Though we may have talked before the shoot day, I want to hear about the specific challenges you solved, the features that can’t be missed, and the ‘hero’ angles you’ve had in mind since the drawing phase. Once we’ve walked the spaces, I plan a schedule for the day.
For each individual shot, we focus on four areas:
-
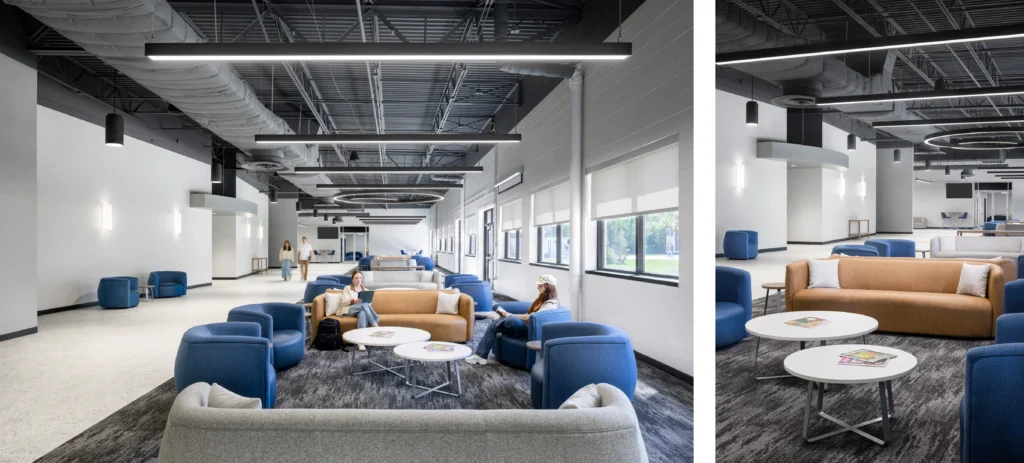
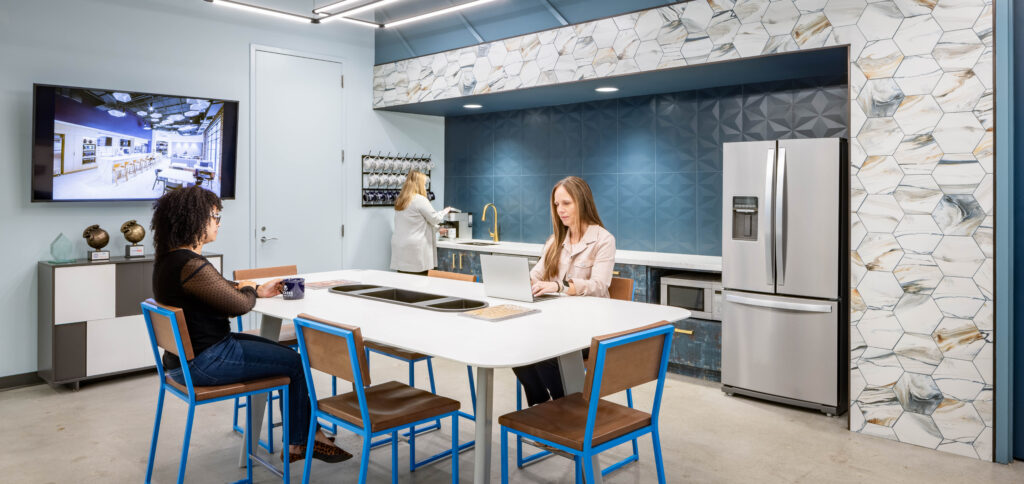
Composition: Finding the best angle and choosing what to include in the frame, to tell the story of the space and what it feels like to be there.
-
Arranging the space: Relocating distracting elements like power cords and garbage bins. Ensuring every chair, book, and furnishing is perfectly straight (or intentionally angled!).
-
Lighting Control: Balancing natural light with supplemental strobes to add shape and dimension without creating artificial-looking shadows.
Collaboration: Reviewing in Real Time
How involved should you be during the shoot? This is entirely up to you and your comfort level.
If you can be on-site, I highly recommend it. I love to have the architect/designer, design director, and/or marketing person present to collaborate on the images. I shoot wirelessly tethered to a tablet, which allows us to review images together in real-time. We can look at the ‘Live View’ and watch exactly how moving a chair three inches or adjusting a light impact the composition. This immediate feedback ensures we are capturing exactly what you need.
If you cannot be present, don’t worry – we will have a thorough consultation beforehand to nail down a meticulous shot list and understand your brand identity, so I can execute the vision independently.
Storytelling: Wide Heros vs Intimate Vignettes